I Got The Tshirts LLC
3D/Allover Sublimation Transfers
3D/Allover Sublimation Transfers
Couldn't load pickup availability
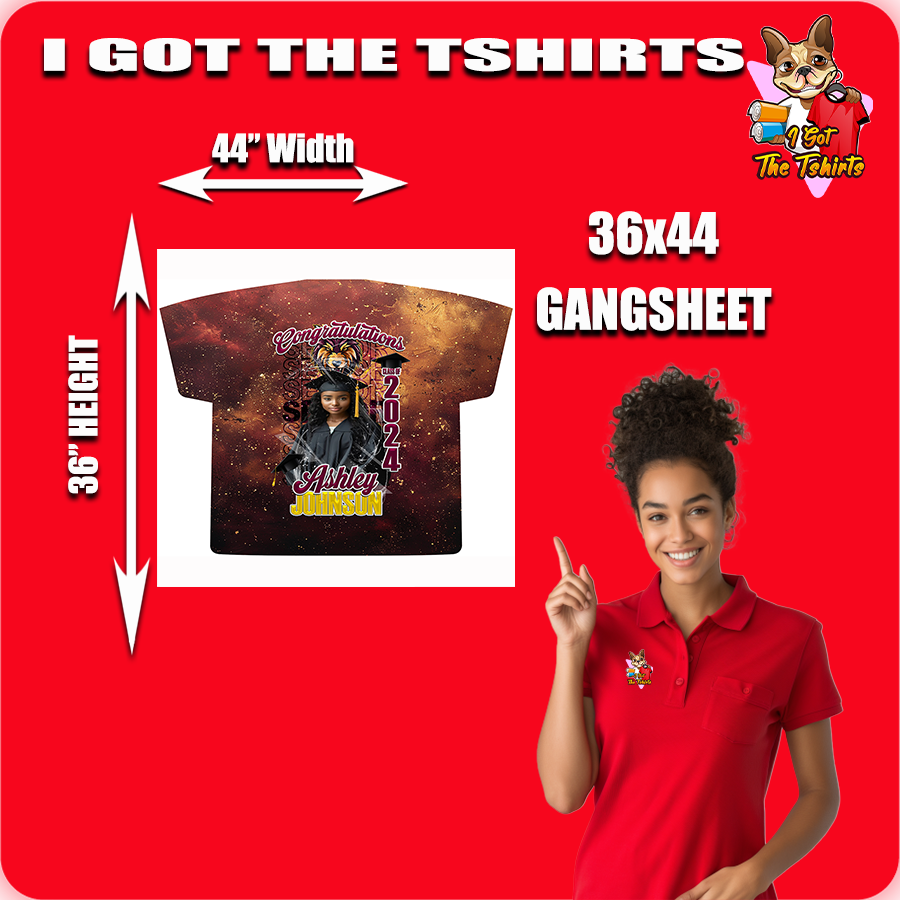
Elevate your designs with our top-of-the-line Custom 3D/Allover Sublimation Transfers, available exclusively at our print shop. Crafted with precision and expertise, these transfers bring your artwork to life with vibrant colors, impeccable details, and lasting quality. Using cutting-edge sublimation technology, we ensure that your designs are seamlessly infused into the fabric, resulting in a soft-to-touch, breathable, and fade-resistant finish. Whether it's apparel, accessories, or promotional items, our Custom Sublimation Transfers deliver unmatched excellence for your personalized creations. Let your imagination run wild and turn your vision into reality with our exceptional sublimation transfer services. Custom Sublimation Transfers!! ~~Sizes up to 44" x 48"~~
Preparation:
Set up your heat press on a stable and even surface.
Preheat the heat press to the recommended temperature for sublimation, typically around 375°F (190°C).
Garment Preparation:
Ensure the garment is clean and free from any wrinkles or debris.
Place a sheet of heat-resistant paper inside the garment to prevent ink bleed-through.
Positioning:
Position your sublimation transfer design on the garment with the printed side facing down (mirror image facing the fabric).
Use heat-resistant tape to secure the transfer in place if needed.
Pressing:
Carefully place the garment with the transfer onto the heated press bed.
Close the heat press and apply gentle pressure. Make sure not to apply excessive force that could distort the image.
Pressing Time:
Press the garment for the recommended time, usually around 45-60 seconds.
The time may vary based on the specific transfer paper and equipment you are using.
Pressure:
Use medium pressure to ensure the transfer adheres properly to the fabric.
Consult your transfer paper manufacturer's guidelines for the appropriate pressure setting.
Cooling:
Once the pressing time is complete, carefully open the heat press and remove the garment.
Allow the garment to cool down for a few seconds before handling.
Peeling:
Peel the transfer paper away from the fabric gently and slowly.
If the design is not fully transferred or if the edges appear faded, the temperature, pressure, or pressing time may need adjustment.
Final Inspection:
Check the transferred design for vibrancy, detail, and proper adhesion.
If needed, repeat the pressing process with adjusted settings.
Always refer to the specific sublimation transfer paper and heat press manufacturer's instructions, as different materials and equipment may have varying requirements. It's recommended to conduct test prints and adjustments before proceeding with large production runs to ensure the best results.
Pressing Instructions
Pressing Instructions
When it comes to achieving the best results with our transfers, following the instructions below will ensure optimal outcomes:
- Set the heat press temperature: To begin, adjust your heat press temperature to a range of 320-330 degrees Fahrenheit. This temperature range has been determined to yield the best results for our transfers.
- Press the transfer: Place the transfer on the desired fabric surface, ensuring that it is positioned correctly. Cover the transfer with a sheet of parchment paper to protect both the transfer and the fabric. Apply medium to firm pressure on the heat press for a duration of 15-20 seconds. This timeframe has been determined to be optimal for the transfer process.
- Cooling process: After the transfer has been pressed, allow it to cool completely. It is important to note that this is not a hot peel process. Allowing the transfer to cool ensures that it adheres properly to the fabric.
- Peel off the transfer: Once the transfer has cooled, carefully peel it off the fabric surface. Take care to remove the transfer smoothly and evenly, avoiding any damage to the design or fabric.
- Final press: For added durability and to ensure a long-lasting transfer, perform a final press. Place a teflon sheet or another sheet of parchment paper over the transferred area. Apply the heat press for an additional 5-10 seconds, using medium pressure. This final press helps to secure the transfer and enhance its longevity.
By following these instructions, you can achieve the best possible results when pressing our transfers. We recommend adhering to these guidelines to ensure the longevity and quality of your custom designs. If you have any further questions or concerns, please do not hesitate to contact our customer service team.
Share


